AI Interior Rendering: from Sketch, SketchUp or Photo to a Photorealistic Room
Upload an interior sketch, a SketchUp or CAD screenshot, a 3D model or a photo of a room to ArkViz AI, choose the room type, style and lighting, and get a photorealistic interior render in 15–45 seconds. No prompt writing, no hours of setting up materials and lights — and your layout stays as designed.


Drag the handle to compare the input with the ArkViz AI interior render.
Quick answer: To create an AI interior render with ArkViz AI, open app.arkviz.ai, choose Render Interior, upload a sketch, screenshot, 3D model or room photo, select a room type (such as Living Room or Kitchen), a style (such as Modern, Japandi or Luxury) and lighting (such as Daytime or Cozy Evening), then click Render. In about 15–45 seconds you get a photorealistic interior that keeps your walls, windows and proportions.
Show clients the finished room — before anything is built
Interior clients decide with their eyes. A plan or a grey 3D view rarely shows how a room will feel with real materials, furniture and light. A traditional render means setting up materials, lights and cameras in 3ds Max, V-Ray or Corona — hours of work for every option.
ArkViz AI turns the view you already have into a realistic interior in seconds, so you can show several styles or lighting moods in the same meeting.
Any starting point
Sketches, SketchUp, Revit or AutoCAD screenshots, GLB 3D models, or photos of a real room.
Your layout, kept
Walls, windows and room proportions follow your input. The AI adds materials, furniture and light — not a new design.
Options in minutes
Try Modern, Japandi or Luxury, or switch from Daytime to Cozy Evening, on the same view.
How to create an AI interior render with ArkViz AI
Prepare your view
Take a screenshot of your SketchUp, Revit or CAD view, scan an interior sketch, photograph a real room, or export a 3D model as GLB.
Open ArkViz AI and choose Render Interior
Go to app.arkviz.ai, select Render Interior in the Mode list and upload your file (JPG, PNG, WebP, PDF or GLB).
Pick room type, style and lighting
Choose the room type, one of 10 styles and one of 7 lighting presets. Optionally set mood, camera, furniture staging, window treatment and view outside the window.
Render and refine
Click Render. In 15–45 seconds you get a photorealistic interior. Download it, upscale it (up to 8K, depending on plan), try another style, or change a single wall or sofa with Inpaint & Draw and Edit Layers.
Interior presets in ArkViz AI
Every choice is a click. ArkViz AI builds the prompt for you from the presets you select.
| Setting | Options |
|---|---|
| Room type | Living Room, Bedroom, Kitchen, Bathroom, Dining Room, Office, Kids Room, Corridor |
| Style | Modern, Minimalist, Scandinavian, Industrial, Bohemian, Luxury, Traditional, Japandi, Art Deco, Rustic |
| Lighting | Daytime, Golden Hour, Cozy Evening, Bright White, Night, Overcast, Dual Light |
| Mood | Warm & Cozy, Clean Minimal, Dramatic, Inviting, Luxurious |
| Camera | Wide Angle, Eye Level, Corner Shot, Ceiling View |
| Furniture staging | Auto (keep existing furniture), Virtual Staging, Empty the Room |
| Floor level | Sets the window view and natural light — higher floors get more open sky and stronger daylight |
| Window treatment | Auto, Curtains, Blinds, No Covering |
| View outside | Auto, Urban Street, Suburban, Nature / Garden |
| People & objects | Add People, Blurred People, Add Pets, Decor & Personal Objects |
Interior renders made with ArkViz AI
Living room
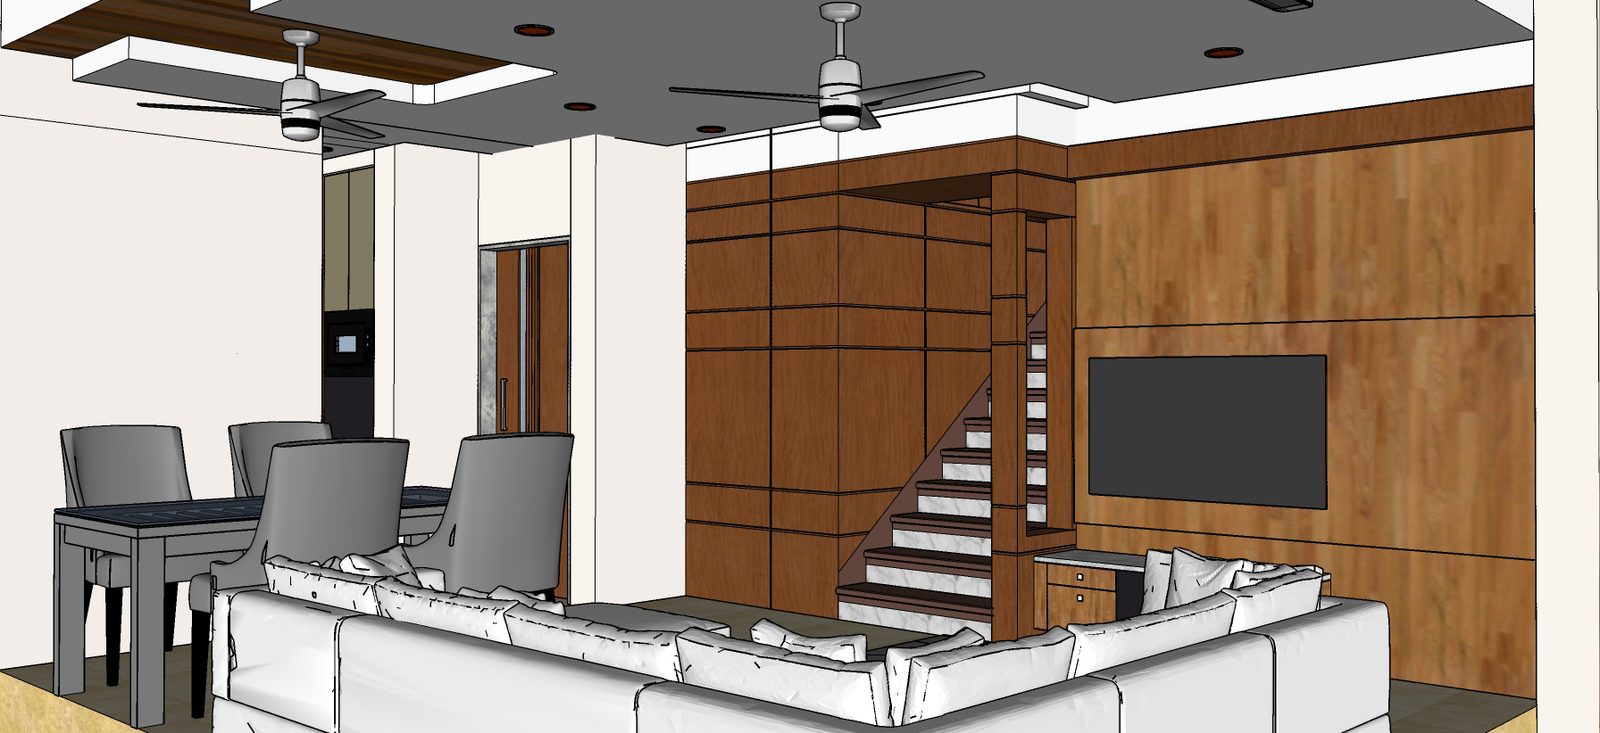
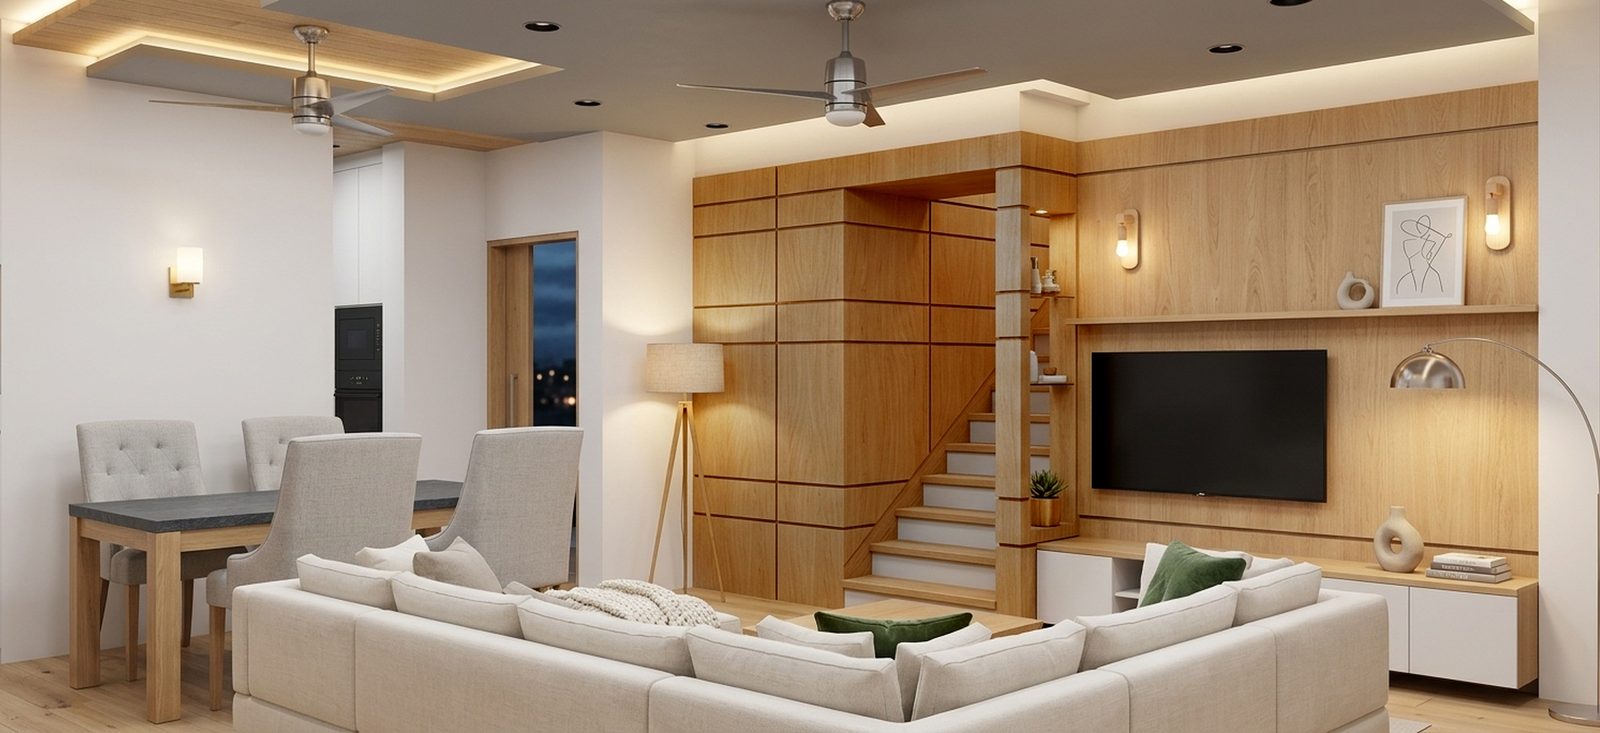
Interior concept
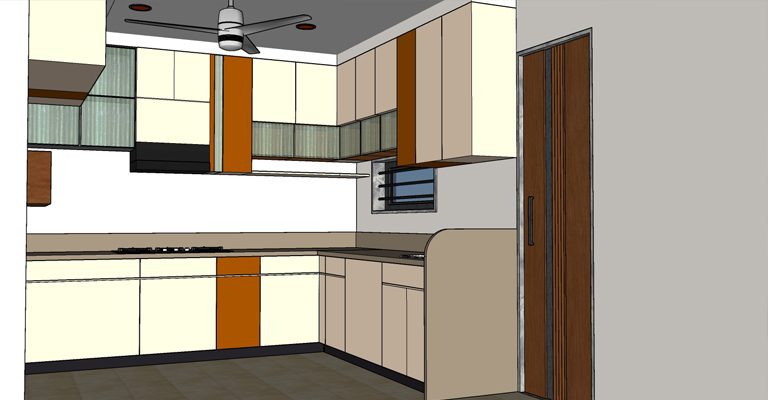
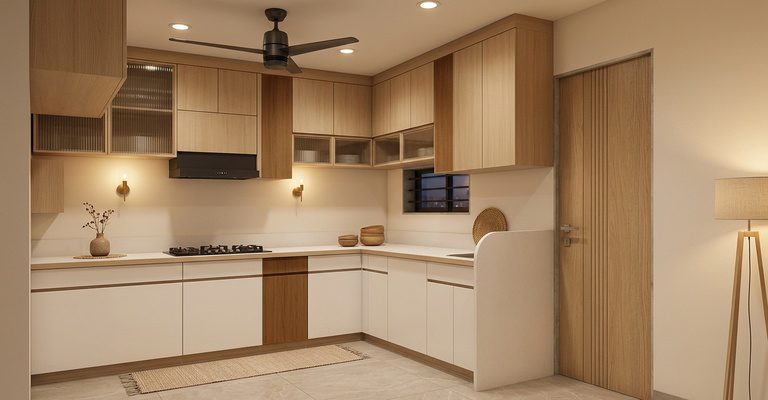
Who AI interior rendering is for
- Interior designers — show clients mood options (Japandi vs Luxury, day vs evening) before finalising materials.
- Architects — add realistic interior views to concept presentations without a separate rendering setup.
- 3D visualizers — create quick previews and alternatives before a full production render.
- Real estate developers and agents — virtually stage empty flats for brochures and listings.
- Furniture and decor brands — place products in styled rooms for catalogues and social media.
Tips for better interior renders
- Use a clear perspective. An eye-level view with visible walls, floor and ceiling gives the most realistic result.
- Show the windows. Windows tell the AI where daylight comes from; set the Floor Level for the right view outside.
- Keep furniture if it's designed. Leave Furniture Staging on Auto so your planned furniture stays as it is.
- Pick a matching room type. It helps the AI choose suitable fixtures — a kitchen gets counters, a bedroom gets bedding.
- Upload a sharp image. Hide toolbars and guides in SketchUp or CAD before taking the screenshot.
What ArkViz AI does — and doesn't — do for interiors
It creates presentation visuals. Use it to explore and communicate interior ideas. It doesn't produce working drawings or a 3D model.
It interprets loose input. Where a sketch or model leaves details open, the AI fills them in with realistic materials and furniture. The clearer the input, the closer the render stays to your intent.
Need a building exterior or a plan? See the SketchUp to render, sketch to render and floor plan to 3D guides.